Selling a vintage Nob Hill condo can feel like a balancing act. You want buyers to fall in love with the character while also seeing an easy, modern lifestyle. The right staging plan does both by elevating original details and simplifying the look so rooms feel bright, open, and functional. In this guide, you’ll learn a practical, room-by-room approach tailored to historic Nob Hill buildings, plus how to navigate HOA or co-op logistics and budget for the best return. Let’s dive in.
Why Nob Hill staging is different
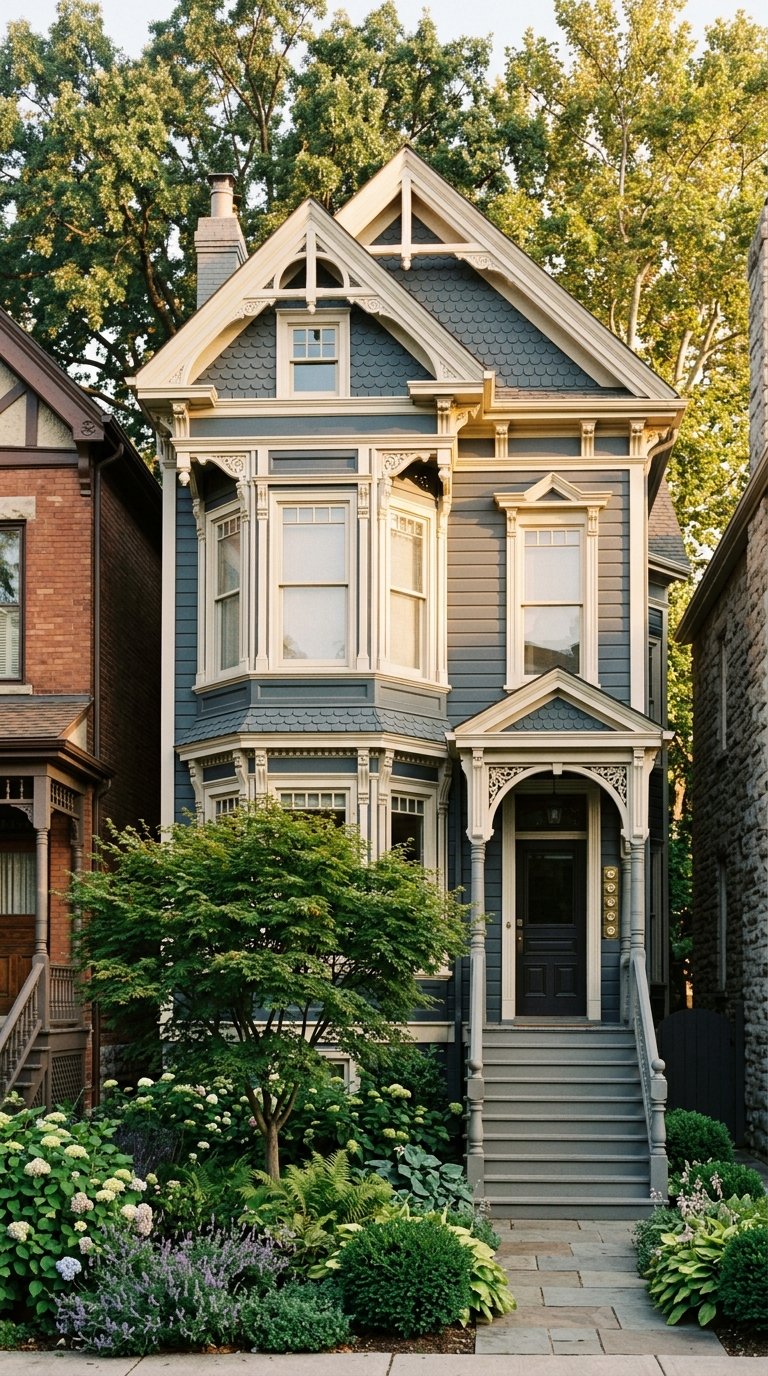
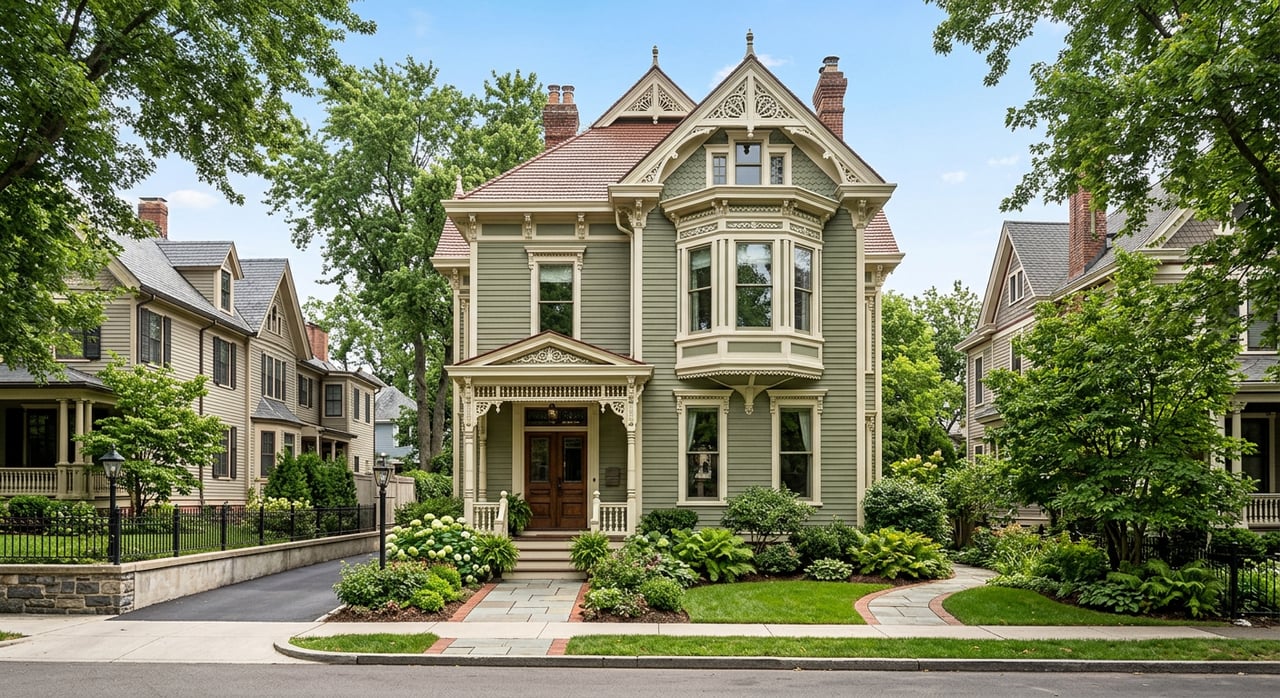
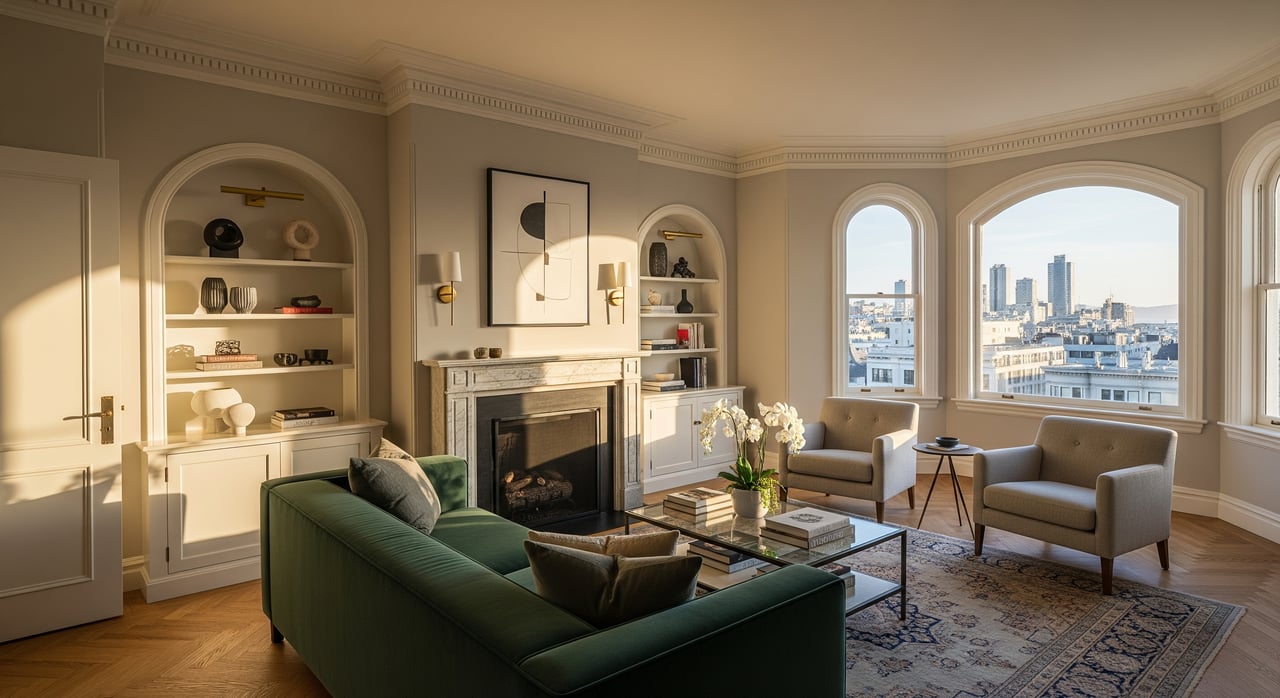
Nob Hill’s early 20th-century buildings often feature high ceilings, detailed millwork, bay windows, fireplaces, and compact but charming floorplans. Your buyers are usually professionals, downsizers, and second-home or investor types who value location and transit. They often pay a premium when historic details and modern comforts show up together. Your job is to spotlight light, sightlines, and authentic features while signaling comfort and ease.
Start with rules and access
Older co-ops and HOAs can set ground rules that affect your schedule and vendors. Getting ahead of approvals avoids delays and last-minute surprises.
- Review CC&Rs and house rules for vendor access, certificates of insurance, elevator reservations, and contractor hours.
- Ask the managing agent or board about any restrictions on staging, moving, or installation of light fixtures.
- Confirm requirements for photography, virtual staging disclosures, and any limitations on signage or flyers.
- If the building or unit has landmark status, confirm whether any interior alterations need approvals. Staging is usually fine, but check.
Set clear staging goals
Use a simple framework designed for pre-war Nob Hill spaces.
- Showcase original details as assets, not curiosities.
- Emphasize light and sightlines to offset smaller rooms.
- Keep a neutral, modern baseline so buyers can imagine their own style.
- Use scaled furniture and smart layouts to prove each room’s function.
Showcase historic features
High ceilings and moulding
Use low camera angles in photos to emphasize height. Choose vertical art and tall, slim pieces to echo the scale. If ceiling fixtures look tired, swap for simple, period-sympathetic lighting that reads clean and proportional.
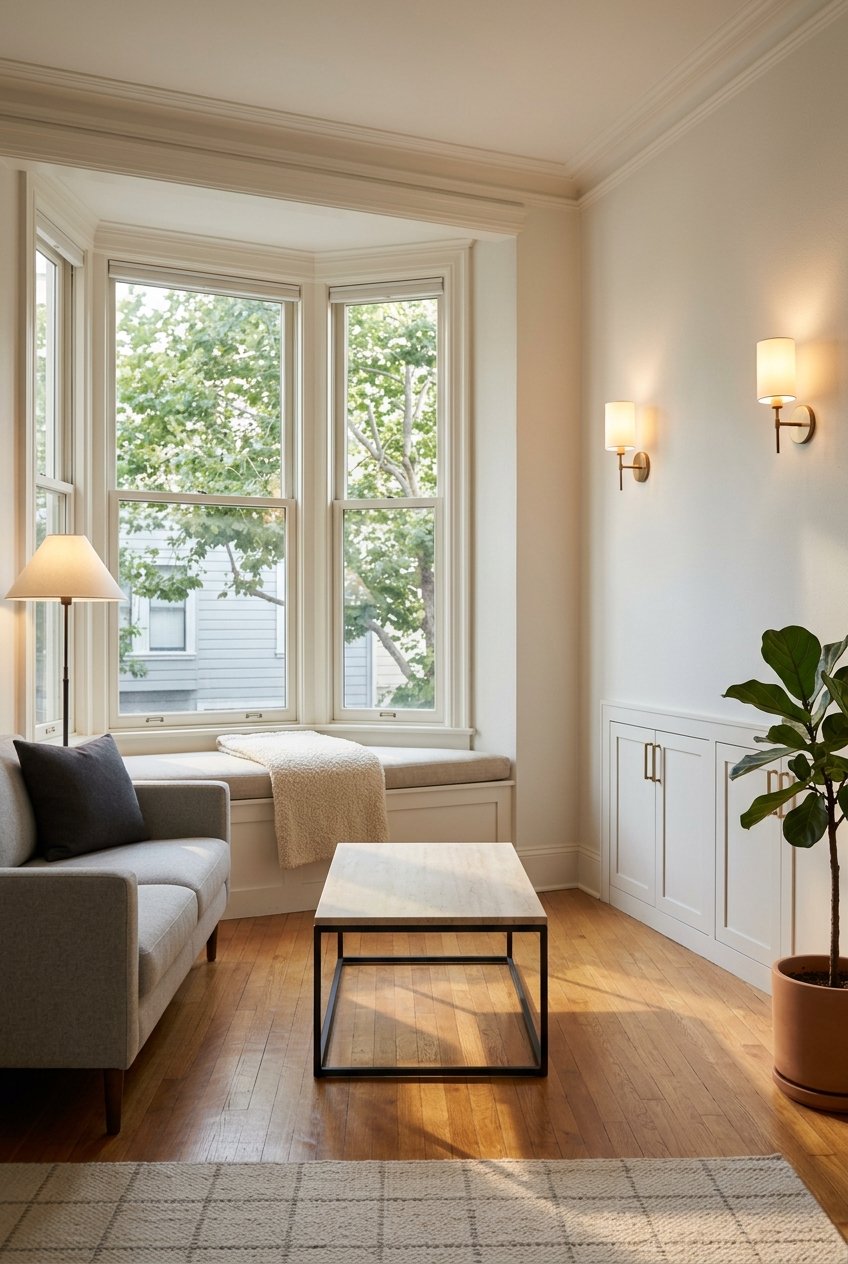
Bay windows and window seats
Treat bays as usable space with a compact chair-and-table vignette or a low console. Keep window treatments minimal to maximize daylight and preserve the view. Avoid bulky drapes that hide trim.
Original hardwood floors and parquet
Deep clean and spot refinish if needed. Use area rugs to define zones without hiding the floors. Ensure rugs fit under the front legs of seating so the room feels pulled together.
Built-ins, mantels, and bookcases
Style sparingly with books, one to two vases, and framed art so buyers see storage and potential. Do not remove built-ins; they help communicate the original layout and authenticity.
Wainscoting and plaster detail
Light these surfaces so texture reads in person and in photos. Keep nearby furnishings light and simple to avoid visual noise.
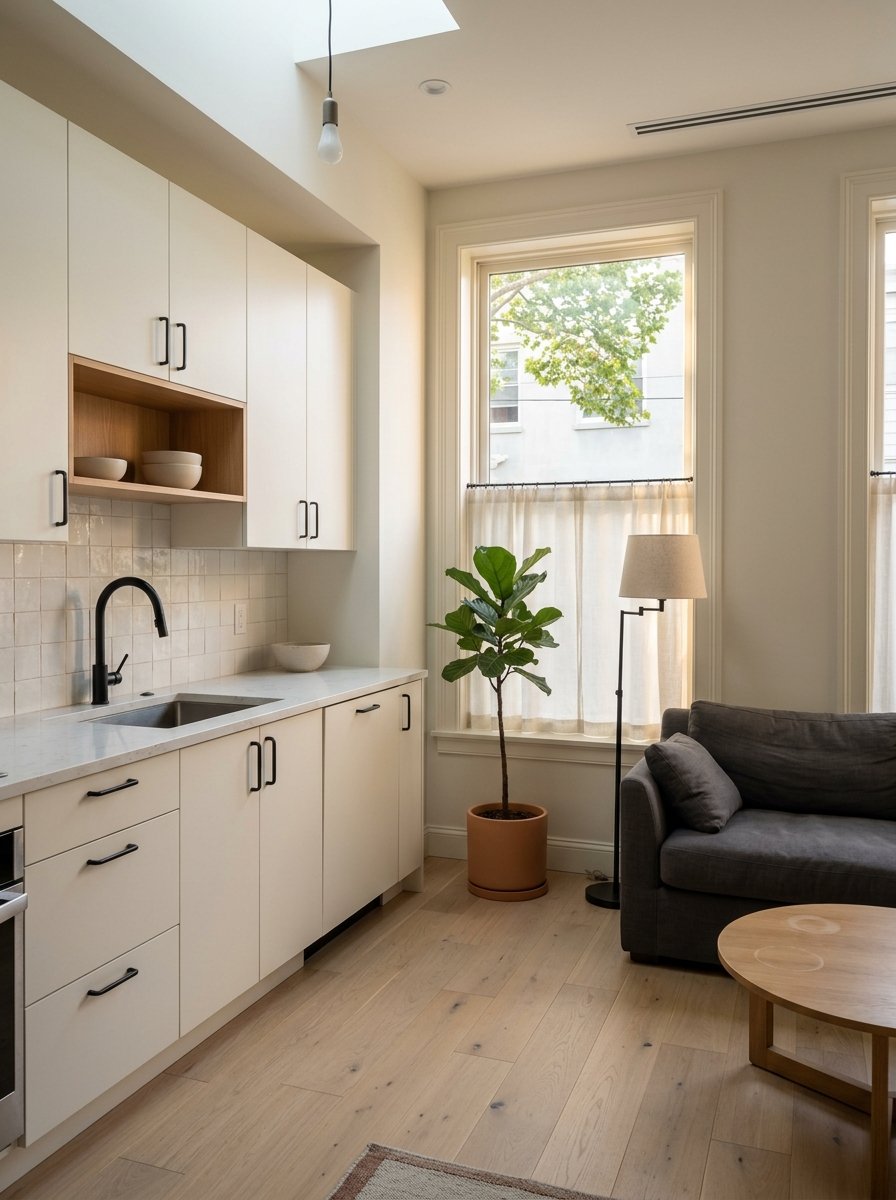
Small kitchens and baths
Stage for efficiency. Clear counters and store small appliances. Add one coffee station, a cutting board, and an attractive soap dispenser. In baths, use crisp white linens and one small plant. If budget allows, replace dated hardware or a tired mirror to modernize the look fast.
Entryways and narrow halls
Keep the entry clear and bright. Add a mirror to expand the feel and an appropriately sized rug. Remove anything that interrupts circulation.
Room-by-room staging plan
Living room or parlor
Select small to medium seating and arrange for conversations that face a focal point like the mantel or bay window. Avoid pushing every piece to the wall if it blocks flow. Layer light with a floor lamp, table lamps, and a subtle accent over art or the fireplace.
Dining area
Right-size the table to the unit. If the dining space is part of the living room, use a rug and a pendant or chandelier to define the zone. Keep place settings minimal to avoid clutter.
Kitchen
Clear counters and hide cords. If cabinets are dated, a fresh coat of paint and new pulls can go a long way. Bright LED under-cabinet lights, new caulk, and clean grout help everything feel fresh. Limit styling to one or two pieces so the room feels larger and more functional.
Bedrooms
Use a full or queen bed based on room size and add layered neutral bedding with one or two accent pillows. Remove extra dressers or chairs that pinch walkways. Organize closets and keep them only partially full to showcase capacity.
Bathrooms
Replace worn linens and shower curtains with bright neutrals. Polish fixtures and consider swapping a dated light or mirror. Add one tasteful accessory, like a tray with soap and a small plant, to maintain a clean hotel feel.
Balconies and views
Stage compact outdoor spaces with a bistro set to show everyday usability. Keep window areas inside clear. Time photographs to capture views without glare.
Common areas
If allowed, coordinate with management to ensure lobbies and hallways are clean and well lit for showings and photos. Many buyers decide based on overall building presentation.
Color, lighting, and scale
Color and finishes
Start with warm neutrals like soft whites, warm grays, or greige that complement wood and plaster. Use a single accent color such as deep blue, warm terracotta, or olive green to add contrast. Consider crisp white or off-white on trim for subtle definition, and test before painting around original woodwork.
Lighting temperatures and layers
Layer ambient, task, and accent lighting in every room. Use LED bulbs so color is consistent. Aim for 2700 to 3000 K in living areas for a warm, inviting glow. In kitchens, 3000 to 3500 K keeps surfaces clear and accurate.
Furniture scale and materials
Choose slim silhouettes with raised legs to increase perceived floor space. Modular or multi-function pieces work well in studios and one-bedrooms. Keep patterns quiet and use natural textiles like linen, wool, and cotton so original details get the attention.
Photos, tours, and open houses
Photography priorities
Hire a photographer who knows historic interiors. Your hero shots should capture ceiling height, bay windows, the main living area, the kitchen with clean counters, the primary bedroom, and any view. Add detail shots of mantels, built-ins, or stained glass. Photograph at times that maximize natural light and keep interior lights on for balance. Avoid heavy HDR editing that flattens texture.
Virtual vs physical staging
Virtual staging can help empty units, but it must be conservative so scale and period details are not misread. Some co-ops and boards expect clear disclosure of any digitally staged photos, and local MLS rules may require it. If you go virtual, keep the furniture light and neutral to stay true to the architecture.
Open house logistics
Coordinate elevator reservations and vendor insurance in advance. Limit the number of people in vintage elevators and protect pathways. Offer a fact sheet that highlights preserved features, recent mechanical updates, HOA or co-op amenities, and any building rules a buyer should know.
Budget and ROI
Quick wins on a budget
- Deep clean, declutter, and paint in warm neutrals.
- Replace dated bulbs with LEDs and refresh worn hardware.
- Make small repairs buyers will notice, like loose knobs or scuffed trim.
Mid-range investments
- Professionally stage key rooms to define function and improve flow.
- Refresh kitchens and baths with new pulls, painted cabinets, updated lighting, and partial floor refinishing where needed.
High-impact projects
- Full furniture staging across all rooms.
- Larger kitchen or bath updates, or mechanical improvements if justified by comps and permitted by your building. Always confirm approvals before you commit.
Choosing the right vendors
- Prioritize stagers and photographers with historic condo experience.
- Confirm insurance, building know-how, and references.
- Request clear estimates listing rooms staged, timelines, delivery and pickup logistics, and any change fees.
Safety, disclosure, and compliance
Do not stage to hide safety issues like loose handrails or broken windows. Those need to be addressed and disclosed per local rules. Confirm any co-op or HOA approval requirements in writing, including access and insurance details for vendors. If you use virtual staging, disclose it when required.
Simple prep checklist
- Confirm building rules, access windows, and insurance requirements.
- Book a stager and photographer experienced with historic interiors.
- Declutter, deep clean, and complete small repairs.
- Paint in warm neutrals and update lighting where practical.
- Stage key rooms to show function, light, and original detail.
- Schedule photos for the best daylight and capture detail shots.
- Coordinate open house logistics and prepare a concise feature sheet.
Ready to list with confidence
When you balance character with clarity, your Nob Hill condo stands out. Keep sightlines open, celebrate original features, and layer modern touches that signal comfort and ease. The result is a home that photographs beautifully, shows even better, and appeals to the buyers who pay for both charm and convenience.
If you want a tailored plan, vendor referrals, and hands-on presentation from a local design-savvy advisor, reach out to Sasha Mazur. Let’s make your listing shine.
FAQs
What should I update versus preserve in a historic Nob Hill condo?
- Preserve authentic millwork, mantels, built-ins, and original flooring, and update lighting, plumbing fixtures, and surfaces where they impede function or appear dated.
Do Nob Hill co-ops allow professional staging and photography?
- Usually yes, but you should get written permission, follow vendor access rules, provide insurance certificates, and reserve elevator time when required.
Is virtual staging a good idea for an empty historic condo?
- It can help, but use conservative, period-sympathetic furniture and disclose digitally staged photos when required by your board or MLS.
How can I make a small pre-war kitchen feel larger without a remodel?
- Clear counters, add bright under-cabinet LEDs, refresh caulk and grout, paint cabinets if needed, and use simple hardware to modernize the look.
What lighting color temperature works best in these spaces?
- Use 2700 to 3000 K in living areas for warmth and 3000 to 3500 K in kitchens to keep surfaces bright and accurate.
How does staging affect time on market in Nob Hill?
- Staging often shortens market time and improves perceived value, especially when it highlights light, sightlines, and preserved architectural details.